This book had 16 pages, so there are a lot of pictures to show. A lot.


A train with wheels that button on and off and blocks being stored.


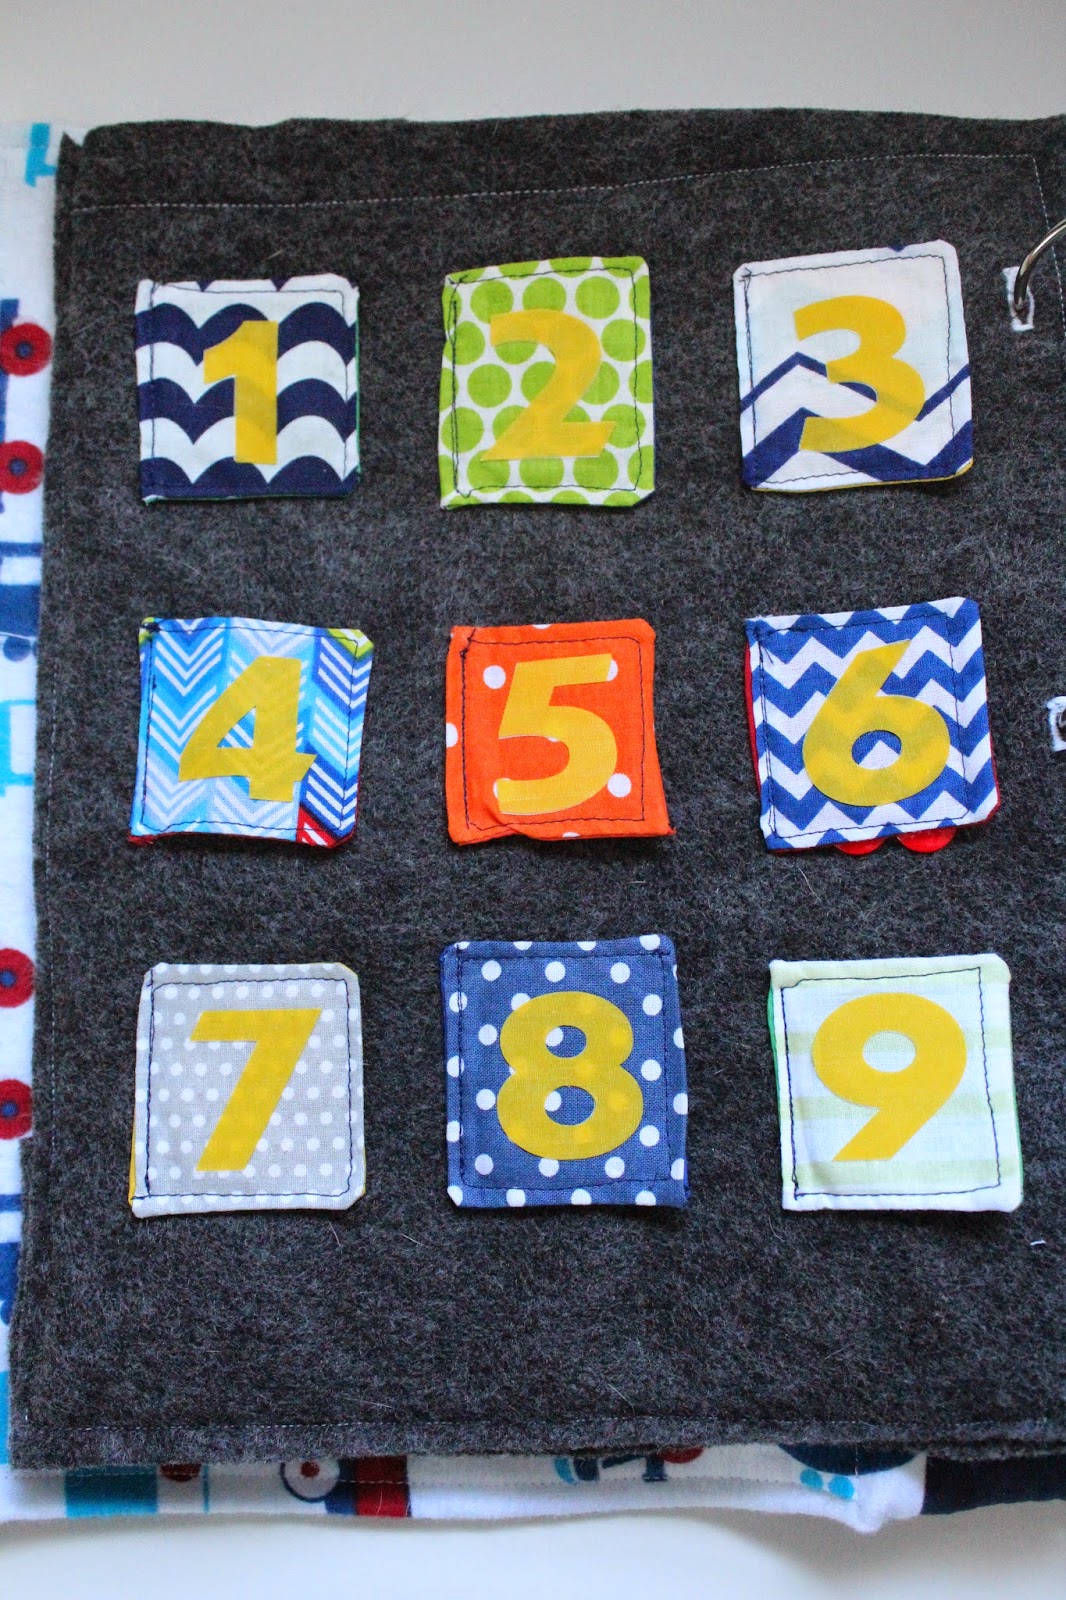
This page was a real labor of love, but I love how it turned out. Behind each flap are the buttons to match the number on the flap.

This was another really labor intensive page. The child will match the crayons with its colored tip that's sewn on the page. The crayons can be stored in the little crayon box.


No quiet book would be complete without a tying page!

The piggy bank page is a back to back one so the child can put coins in the bank and then get them out of the zippered page on the back side.


Another quiet book staple: the shape matching page.


I'm not sure that a two year old will ever see a real life phone with a cord, but he'll be able to practice dialing. The next page is a little phone book so he can practice numbers and recognize family members.


I've included a mailbox page in each of the books I've made. I found a great tip for the flag: they used a grommet and then sewed a button up through the grommet. It worked like a charm! The mail was actually pretty fun to make, but the mailbox filled up quickly.


The barn with doors that open to reveal finger puppet animals!


A tetris style puzzle page:


An abacus page:


This boy dress up page was really cute. The costumes hide in the treasure chest.


Last, but not least, the sailboat page. It was the first time I sewed a zipper! The octopus and whale hide in the zippered pouch.


That wraps it up! It was so fun to make, but definitely a huge undertaking! I hope Baby A enjoys it for years to come!!
Thanks for reading,
Kathleen


